Here's a break down of the basics of doing this type of thing.
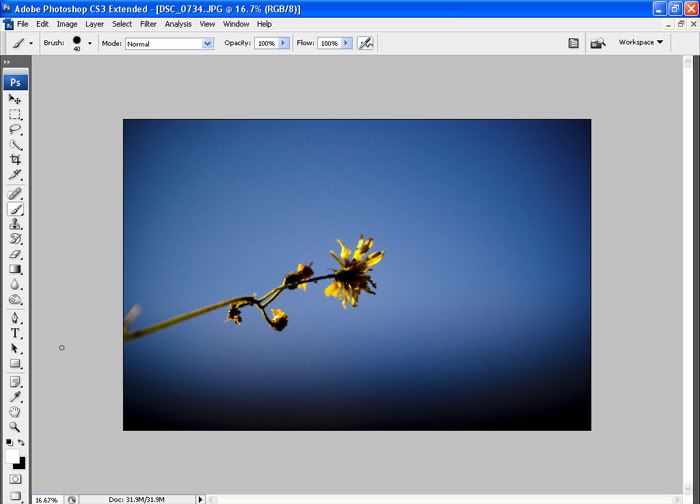
Firstly we need to pick out a suiltable image, open it into Photoshop.
Next we have to divide the image into seperate pieces. As usual with Photoshop there's a plethora of ways to do this, but for the benefit of relative ease we'll use the slice method here.
Select the slice tool from the tools pallette. Then right click on the image and select divide slice from the menu. For this image I chose a value of 4 horizontally and 3 vertically, but play about with the values to taste.

After selecting your values in the above step, then press ok. Now we need to get the selection into individual pieces; the best way to do this is to go to File>save for web. Once you save it will create a new folder containing the image segments in the location of your choice.
Next we make a new transparent document, slightly bigger than the original file.

The next step is aslightly tedious. Open each of the segments in turn and paste them as new layers into the transparent file.
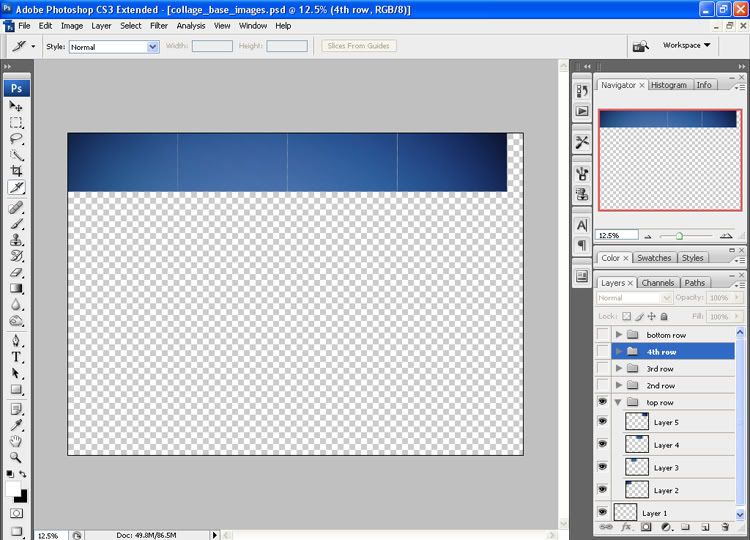
Until you have rebuilt the image. I find it a bit tidier to group my layers specific to each row, but that's an OCD thing.
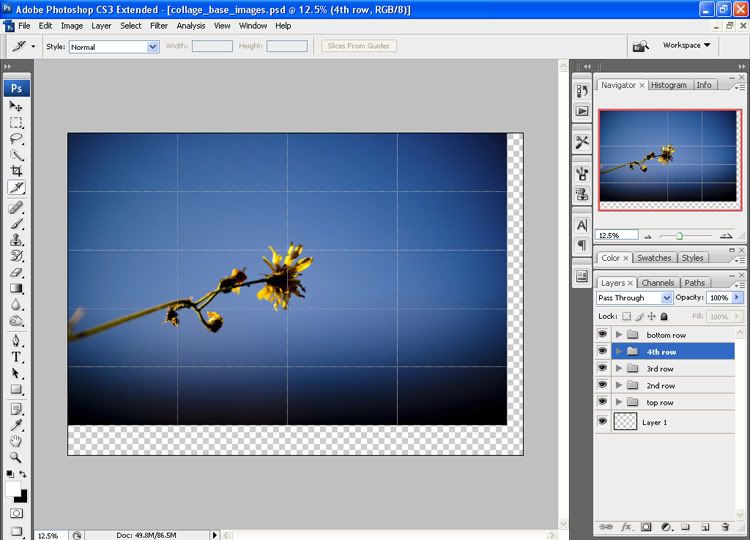
Now the fun bit starts as we select each of the layers and reposition them to suit. Don't forget you can move layers about in the layers pallette so you can bring them above or drop them below other layers.
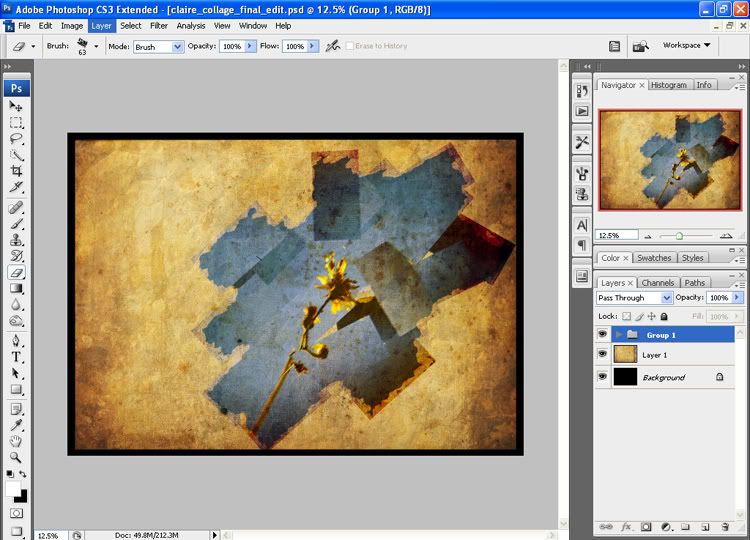
This is what I came up with.

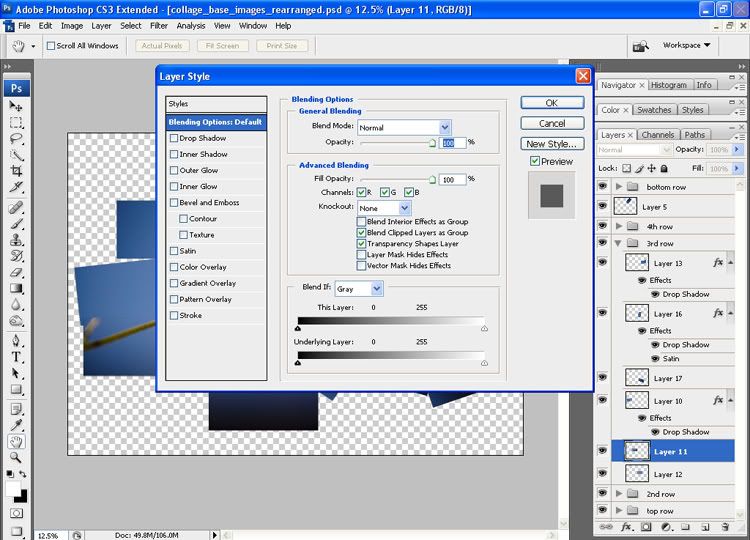
Now you can add layer styles if you choose. Just double click on the layer of you choice to bring up the style options. I added satin and drop shadow styles to a few layers to give a bit of subtle density. (I saved the file as a layered photoshop document at this stage)
Now it's time to get rid of the layers, go to Layer>Merge visible. DO NOT use the flatten image command as this will make the backgroumd solid colour rather than keeping it transparent. Looking pretty good, but I wanted to give the final image a grungy torn edges look, so I selected one of the default grunge brushes from the brushes pallette. And went around the edges picking away at them using the eraser. You could of course use some custom brushes, but I didn't find I needed them for this.

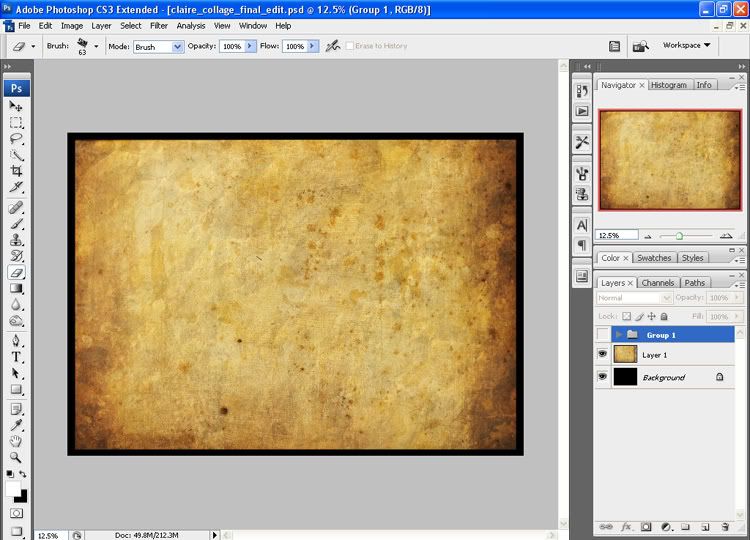
When happy with your results save the file as a PSD and then open up your background, I used an old background from my stock folder.
Now open up the original PSD of the image segments before the grunge treatment and go to Layer>merge visible (again to retain the transparent background). Now copy and paste it onto you textured background. This layer will form the aged residue left behind from when the edges were torn. Once pasted as a new layer, change the blending mode to overlay and keep the opacity at 100%.
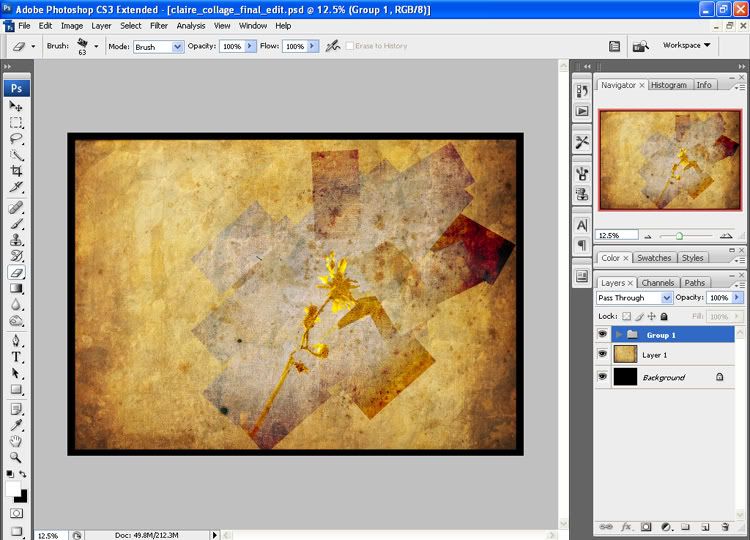
It's now simply a case of building up the density of the image whist maintaining a subtle look of it being weathered and blended with the background.
Open the grunge PSD and copy it to the clipboard.
Paste it as a new layer, change the blending mode to multiply and set the opacity to 41%.
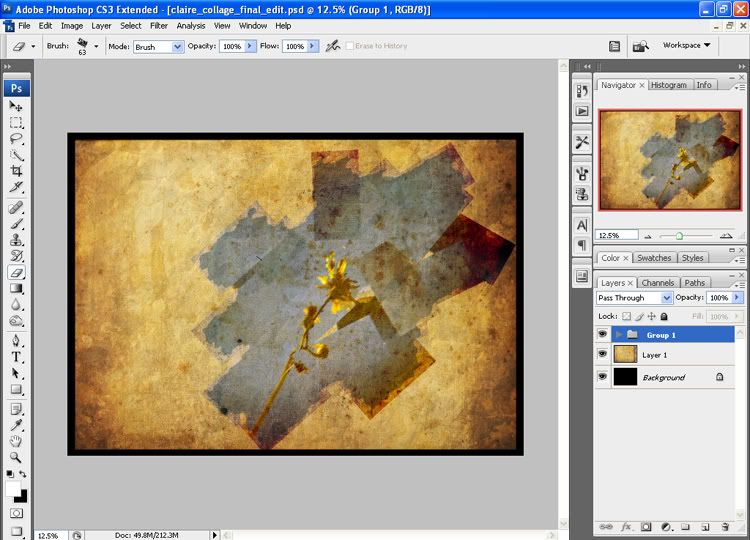
Paste the grunge layer again and this time change the blend mode to overlay and opacity 21%
Paste the grunge layer for a final time and change the blending mode to soft light and bring the opacity down to 53%.
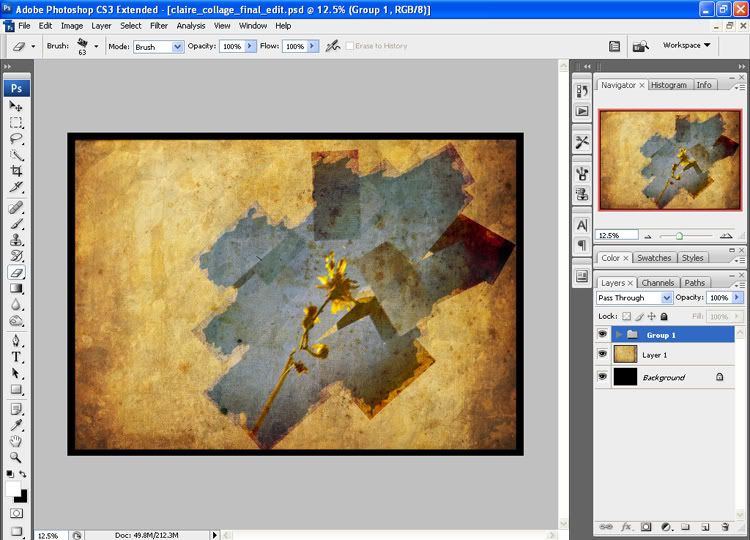
For a final touch I chose to open the original segment of the flower head again and paste it into the final image and change the blending mode to overlay opacity 100%.

If you want to move the image around the background then group the pasted layers together and select the group folder and using the move tool all the layers will move around the background together. Once happy, simply merge the layers and save. You should end up with something like this: